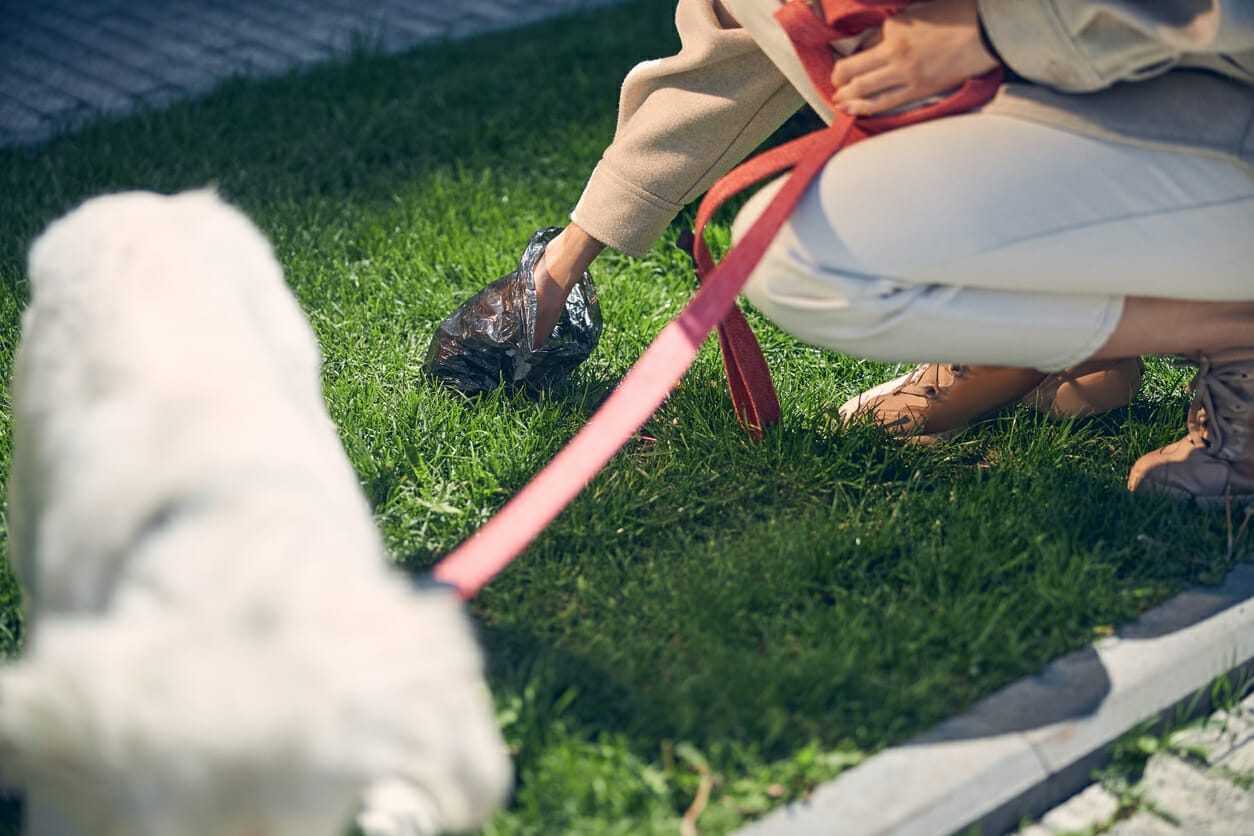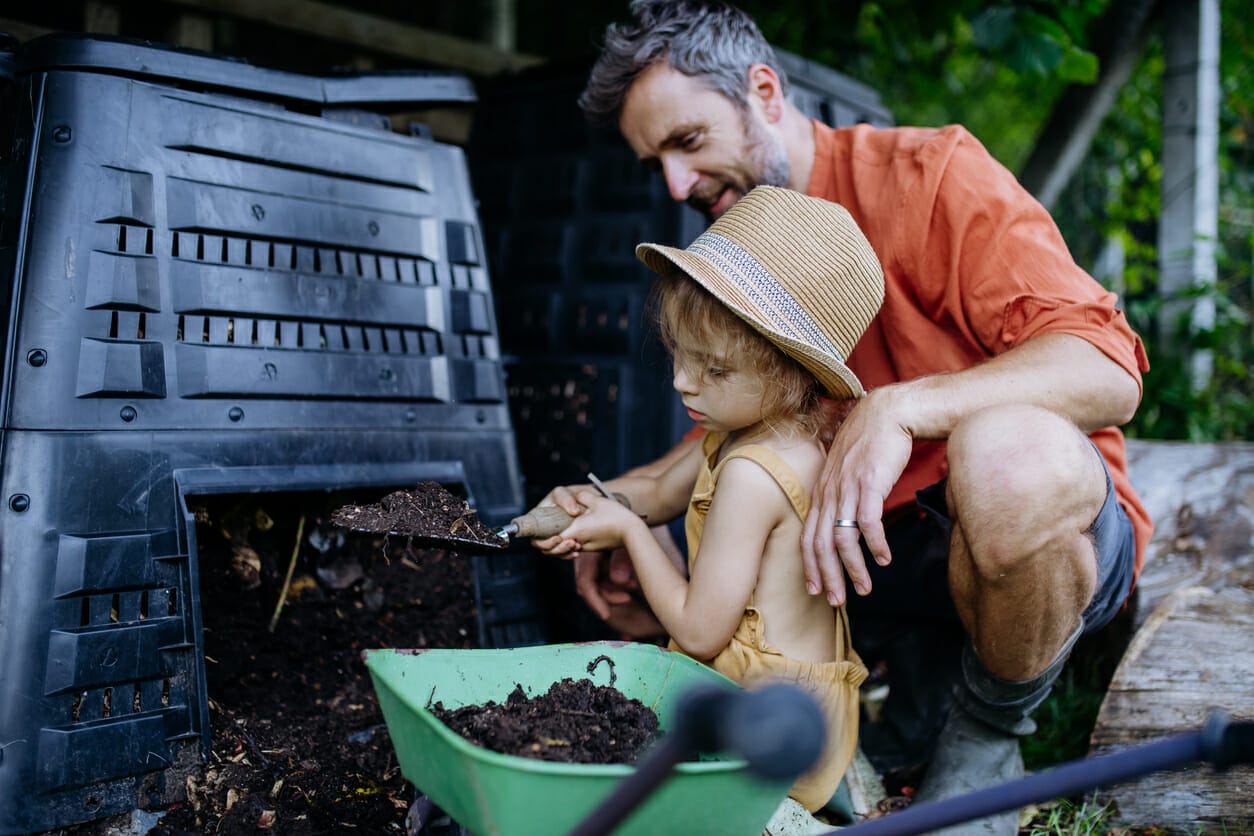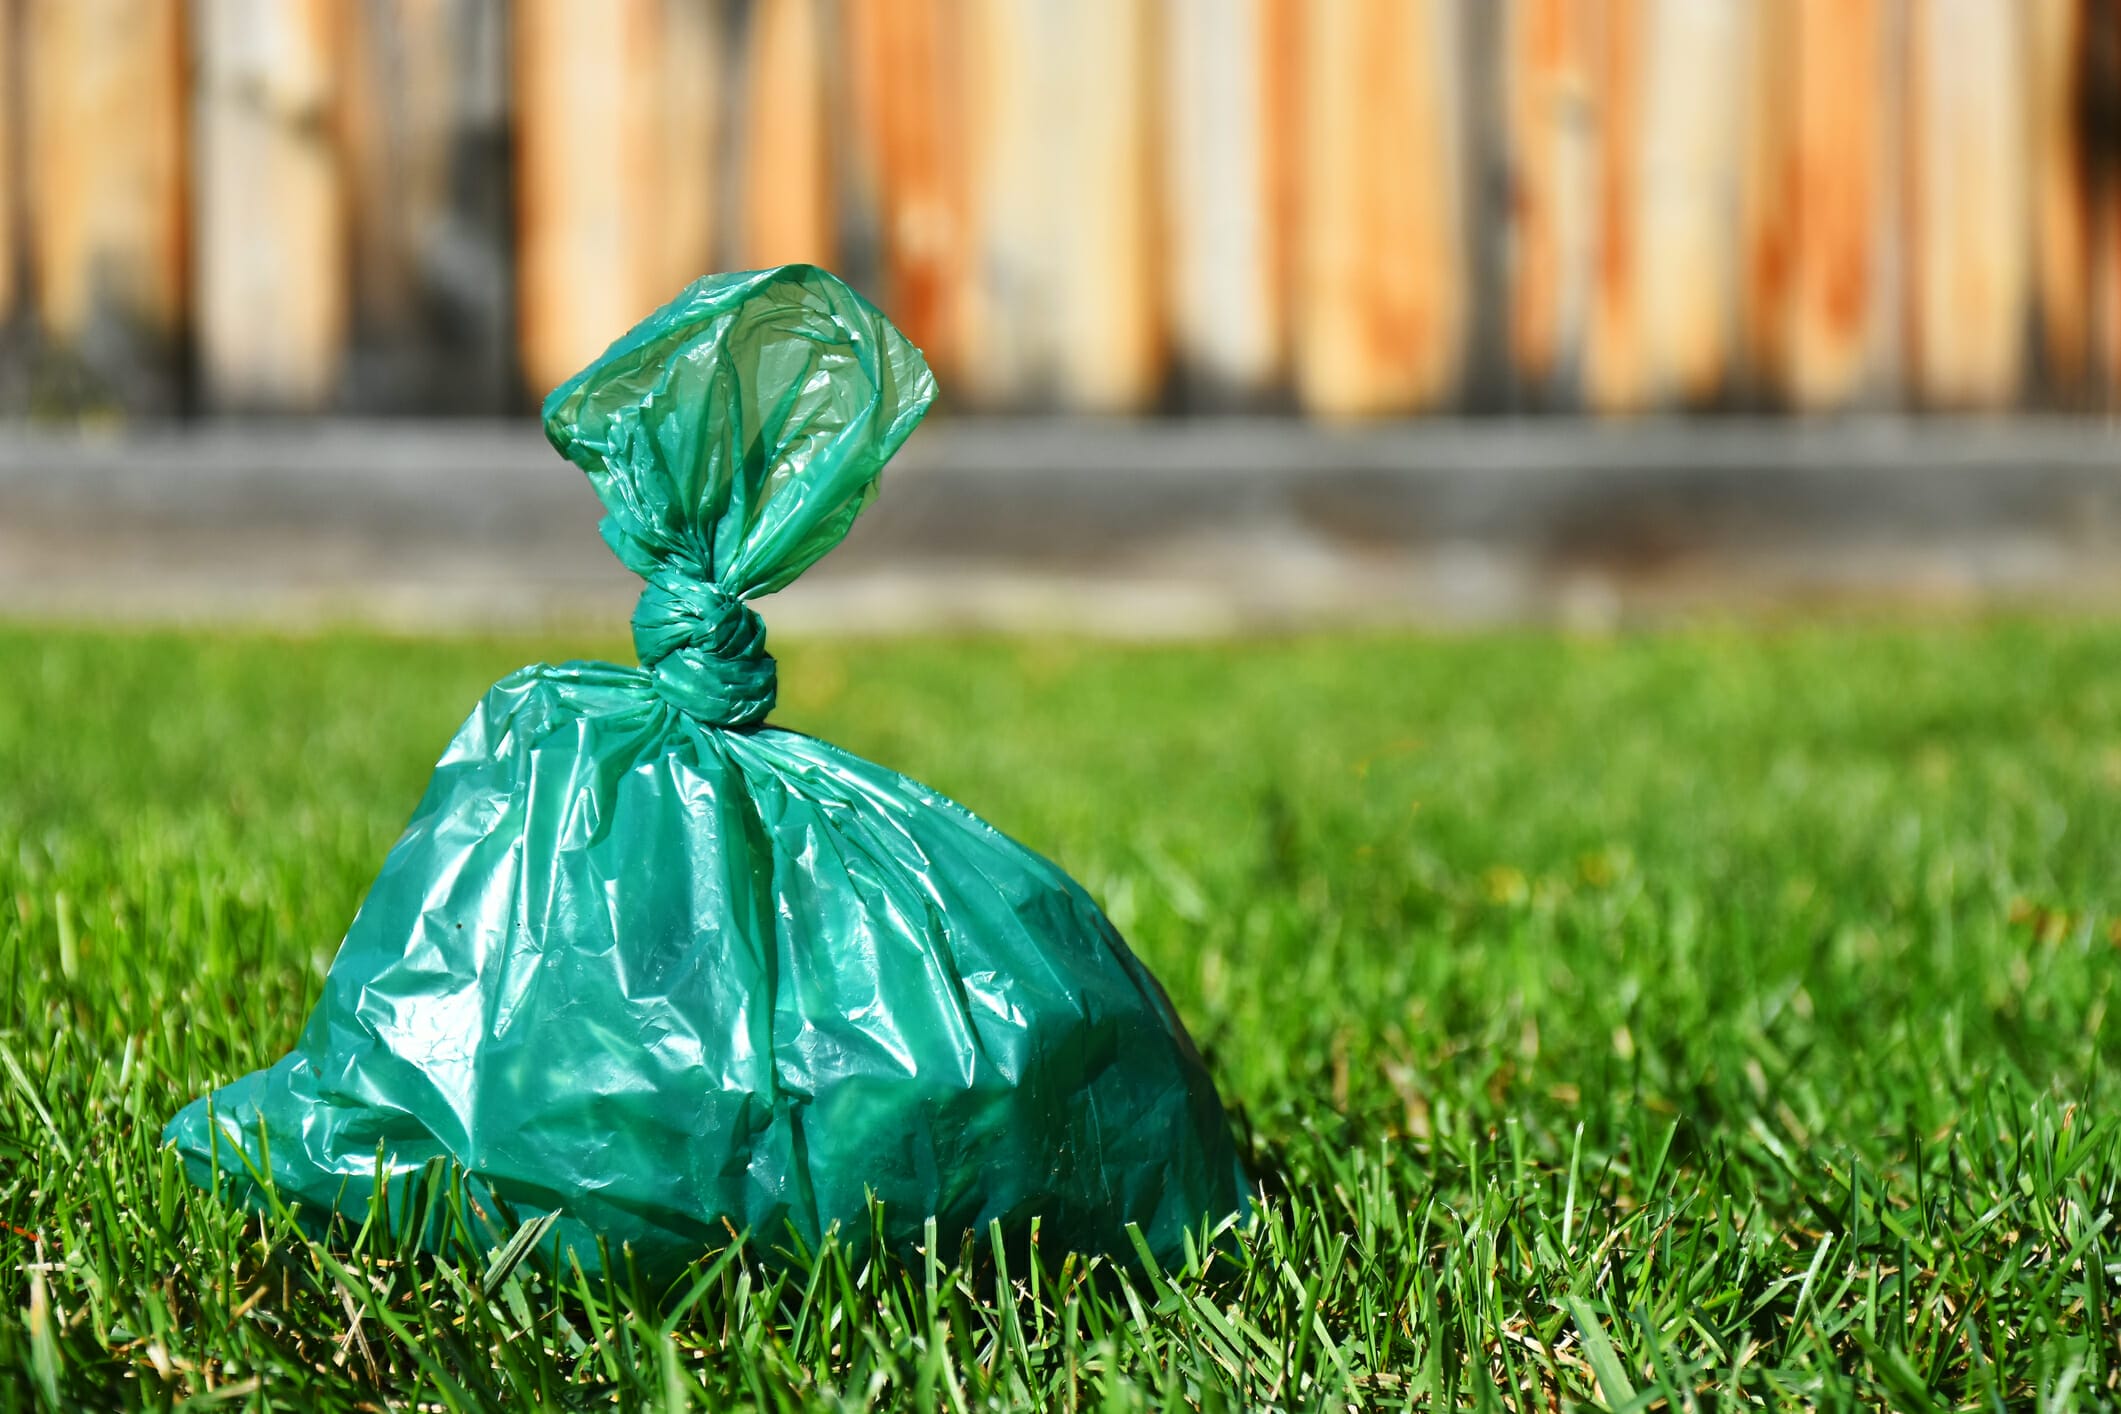
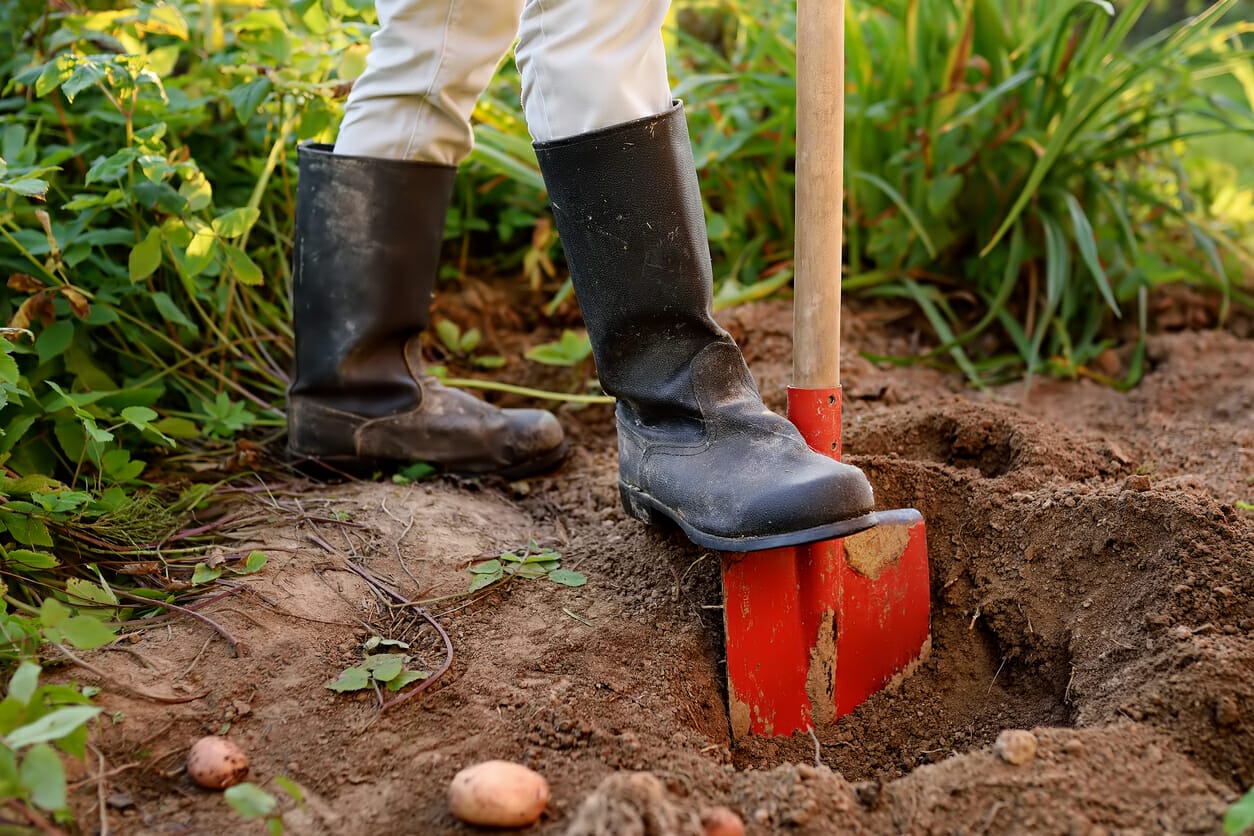
To build an in-ground dog poop septic tank, bury a container with drainage holes drilled in its sides and bottom in a hole lined with gravel, leave the lidded rim just above ground level, and add dog waste digester enzymes and water so the poop breaks down into liquid that soaks into the soil. It works best in well-draining soil, away from wells, streams and vegetable beds, and it slows down or stops in freezing weather.
Below, we walk you through each step, plus how to keep the system working and a few other ways to dispose of dog poop.
What is a dog poop septic tank and who needs it?
A dog poop septic tank utilizes a formula composed of natural and non-toxic enzymes to break down solid canine waste into an absorbable liquid, similar to the process that occurs in home septic systems.
The liquid then seeps into the surrounding soil, where soil microbes continue to break it down. Dog poop can carry parasites and bacteria, so where you put the tank matters (more on that below).
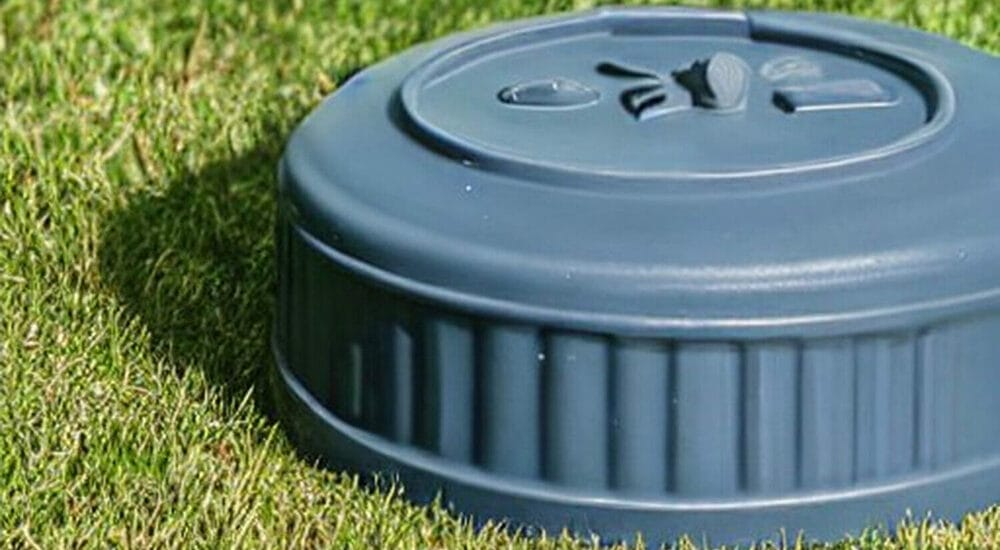
For people who let their dogs do business in their garden, a dog poop septic tank could be the ultimate answer to your problems.
Not only will it make sure that the waste is disposed of properly, but it can also help save time and energy on cleaning up after your pup. Plus, you won’t have to worry about pesky neighbors complaining about the smell!
Now, let’s get into the how-to of setting up a dog poop septic tank.
How to set up your DIY in-ground dog poop disposal system
Before you get started, make sure to have all the essential materials and tools within arm’s reach. This includes a shovel or spade, a container with a tight-fitting lid (a 5-gallon bucket works for one small dog; a larger plastic trash can suits bigger or multiple dogs), a drill, some small stones or gravel, and of course dog poop septic tank enzymes.
Choose the right spot
Pick a spot with soil that drains well. A digester won't work well in heavy clay, rocky ground or areas where water pools after rain. Keep it well away from wells, streams, ponds, vegetable gardens and play areas, and check for buried pipes and cables before you dig. Some areas have rules about burying pet waste, so it's worth checking with your local authority.
Dig a hole as deep as your container
To start, dig a hole in your backyard that is slightly larger than the measurements of your container. This extra space will create room for stones used to promote additional drainage.
Make sure that the rim of your container will eventually sit about 2 inches above the ground, so rainwater and runoff don't flow in.
Drill drainage holes in the container
To ensure that excess precipitation doesn’t accumulate in your container, use a power drill to create several small holes near the bottom and side of it. Make sure these openings are just wide enough for water drainage but not big enough for solid waste to escape as well.
If you would rather purchase a ready-made septic tank, there are tons online with thorough installation guidelines. Doogie Dooley is widely renowned for its premium quality tanks and their products come paired with user-friendly setup guides.
Place stones at the bottom of the hole
Place a layer of small stones at the bottom of the hole. This will help to promote an even distribution of drainage from all sides.
Make sure that the stones are clean and free from any potential contaminants.
Place your container in the hole
Once you have completed drilling drainage holes, place your container into the hole that you just dug, centered so there's an even gap all around, with the rim sitting just above ground level.
Fill in the extra space around the container
Using your spade or shovel, fill in the extra space around your container with small stones to help promote drainage and prevent runoff. Make sure that all sides of your container are completely covered by stones.
The remaining space can be filled with dirt to help keep the stones in place.
Add enzymes to your container
Once you have completed the steps above, it’s time to add the dog poop septic tank enzyme, along with water as directed on the package. This will help break down solid canine waste and prevent bad odors from accumulating in your yard. We recommend Doogie Dooley waste tablets.
Keep the lid on at all times so children, pets and wildlife can't get in, and only add the poop itself: plastic poop bags (even compostable ones), cat litter and trash won't break down in the tank.
Final thoughts – Building your own septic tank
If you’re the type of person who enjoys DIY projects, building a septic tank for your dog’s poop can be an excellent and rewarding choice. The setup might require some elbow grease as well as time to install, but with that comes the satisfaction of knowing that you made something sustainable to keep your yard free from waste.
With regular enzyme top-ups and a well-chosen spot, it is easy to maintain this system so it stays low-odor and keeps working properly for years!