How to Trim a Dog’s Nails That Hates It (Step-By-Step)
 Written by Jessica Lin
As an Amazon Associate we earn from qualifying purchases, at no extra cost to you. Disclosure

Pick by your dog
Swipe ›Our picks
| Pick | Best for | Buy |
|---|---|---|
 Top pickDog Nail Grinders | — | Check price |
 Dog Nail Scratchboards | — | Check price |
To trim the nails of a dog that hates it, pick a tool he tolerates (clippers, a quiet grinder or a scratchboard), desensitize him slowly with short, frequent, treat-filled sessions, and trim just one or two nails at a time, stopping before he gets stressed. If he still panics or gets aggressive, let a groomer or vet do it.
Your heart rate is probably already elevated during a routine nail trimming. Now imagine trying to cut your dog’s nails while he’s writhing around, resisting and trying to get away as if his life depended on it. Yeah, the task will be infinitely harder. If you're wondering what's behind the fear, see why dogs don't like getting their nails cut.
Some dogs may need professionals to step in, but before we get to that stage, there are different methods a dog parent can try.
Tools to Help Trim a Difficult Dog’s Nails
The first step to making things easier is to pick the right tool. What tools are out there? Depending on your dog’s preference, needs, and level of fear, there are a few options to choose from.
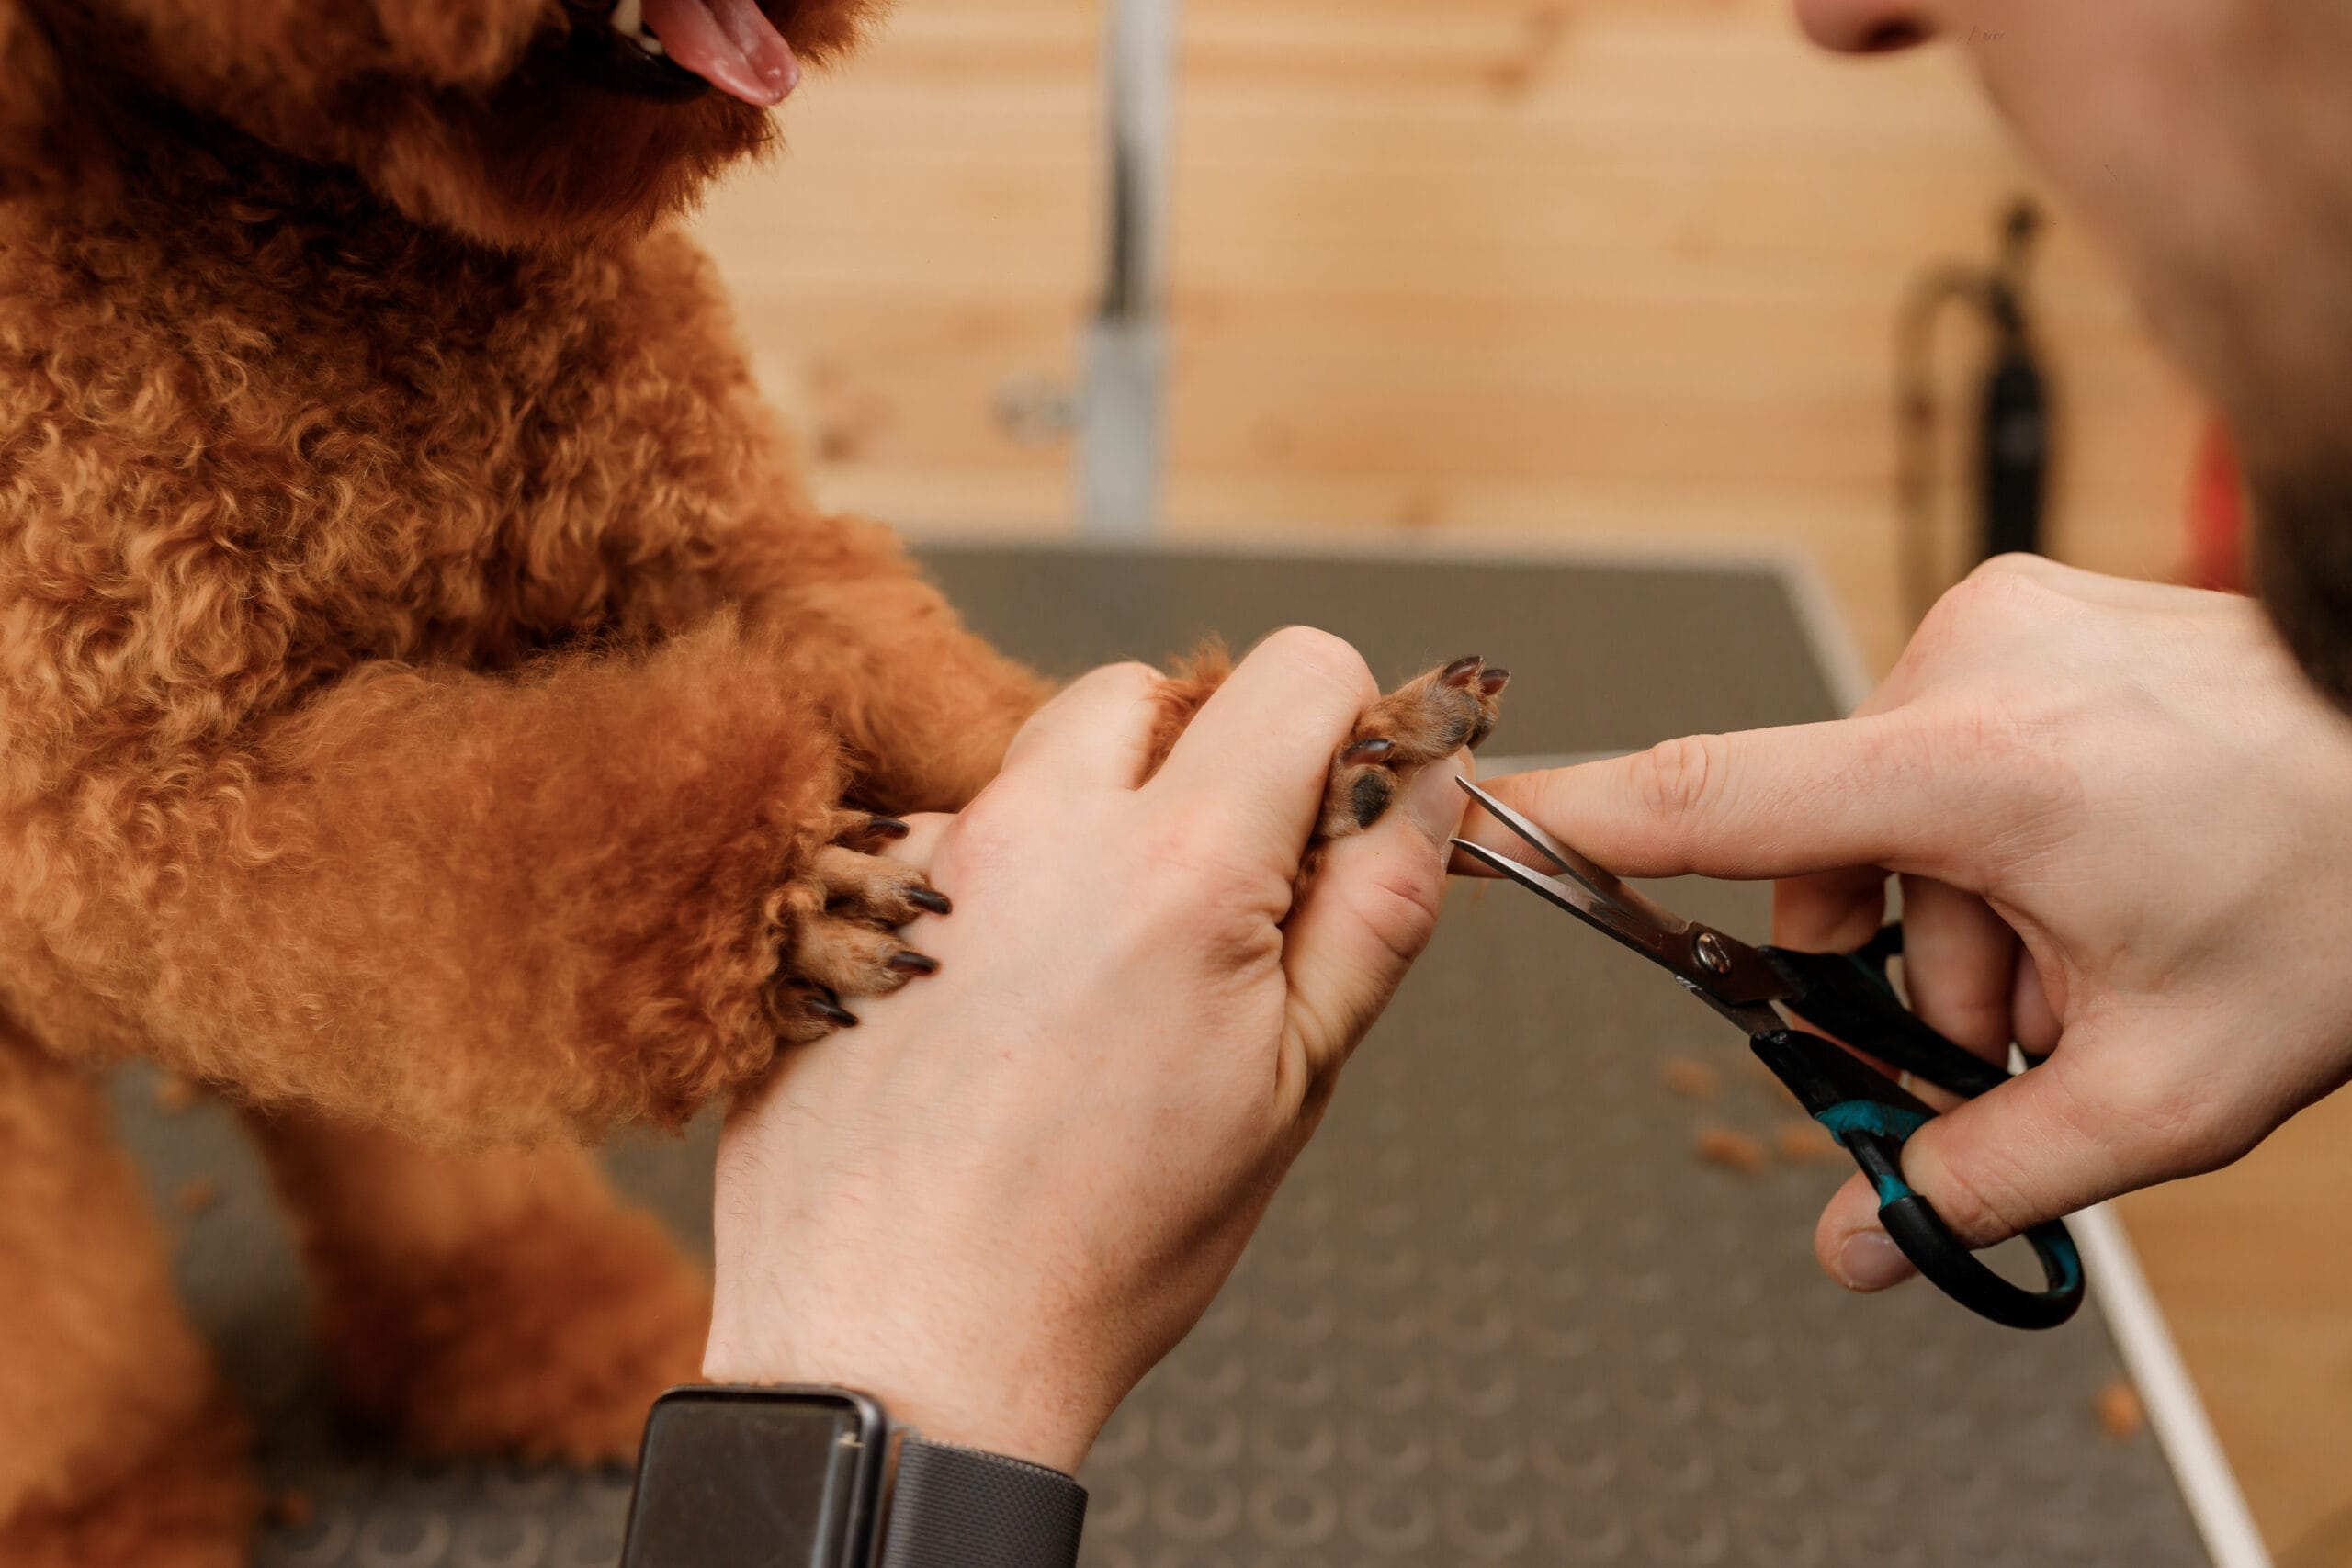
Dog Nail Clippers/Scissors
Dog nail clippers or scissors are the most basic tools when it comes to dog nail trimming. They’re also the ones that many dogs dislike because of the pressure they feel on their nail as the blades clamp down.
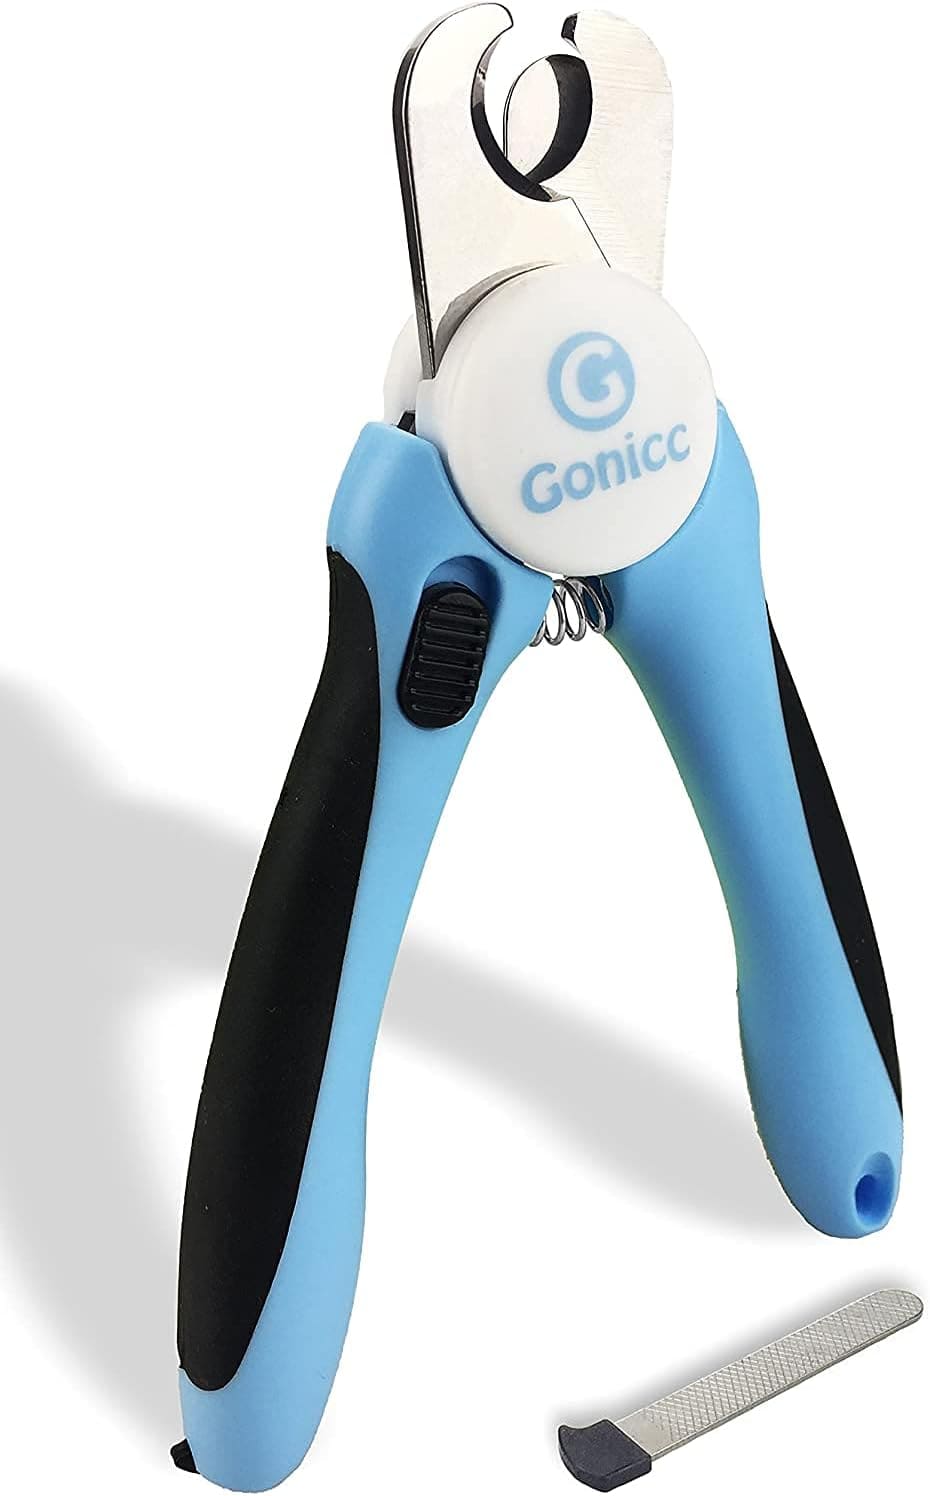
These tools can be narrowed down further into different types:
Guillotine Clippers

Scissors
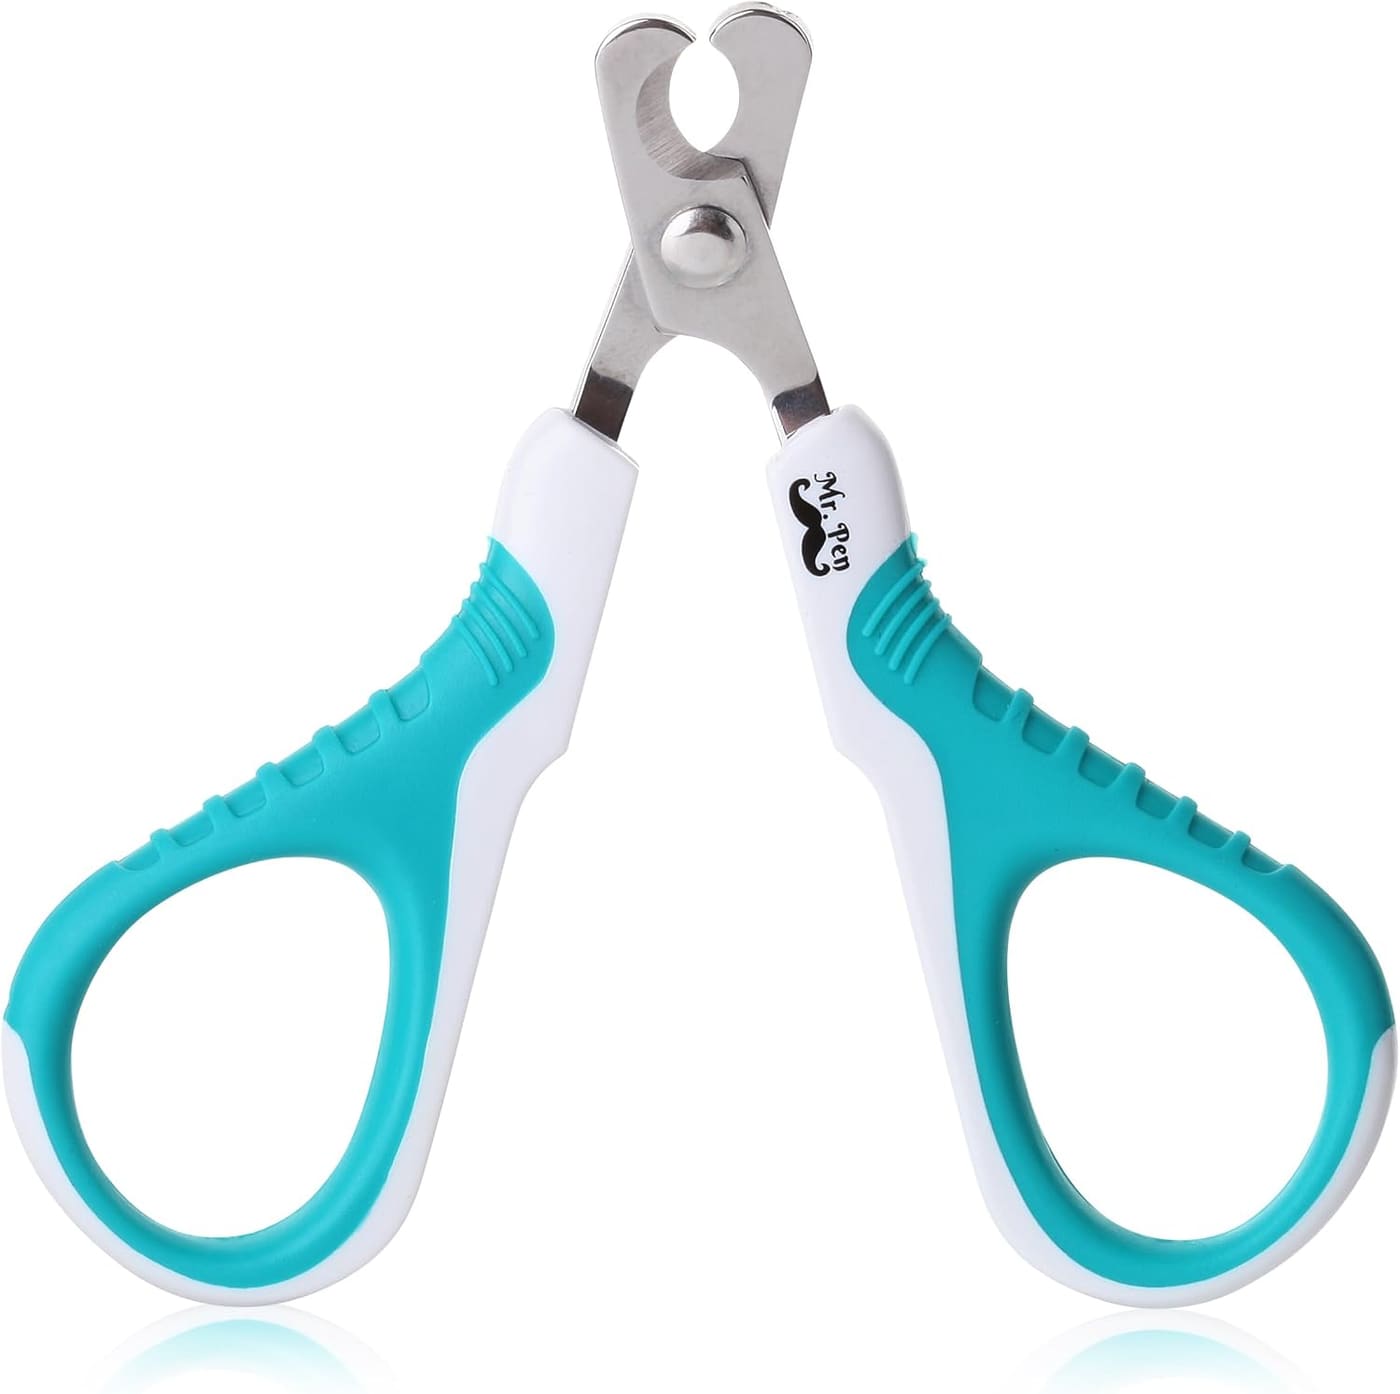
Pliers
1Dog Nail Grinders
If your dog is not a fan of clippers, you can turn to dog nail grinders. These are battery-operated and are designed to sand down your dog’s nails to a desired length slowly. You have more control with dog nail grinders and they are usually safer and offer more precision.
You also won’t have issues with splintering or rough-cut edges because the drum sander will not only shorten but smooth out the ends of the nails at the same time.
As great as these devices sound, there is a major drawback for many dogs, which is the engine noise. The sound of the tool starting up and the vibrations against your dog’s nails could be unpleasant for him.
2Dog Nail Scratchboards
If all else fails, you can resort to manual dog nail scratchboards. The best part is your dog does all the work – but not without some training first. These tools are quite innovative and simple. They are basically just sandpapers of varying coarseness stuck onto the surface of a wooden or plastic board.
Your dog can naturally file and shorten his nails by doing something dogs do best – scratching! It’s stress-free for many dogs and definitely takes the burden off of your shoulders. However, training your dog on how to use it could take some time, so be prepared for that with plenty of positive reinforcement and treats.
Techniques to Make Dog Nail Trimming Easier
Aside from picking the right tools, pawrents can also employ the below techniques to make the process more enjoyable and less stressful for all parties.
1Start Early
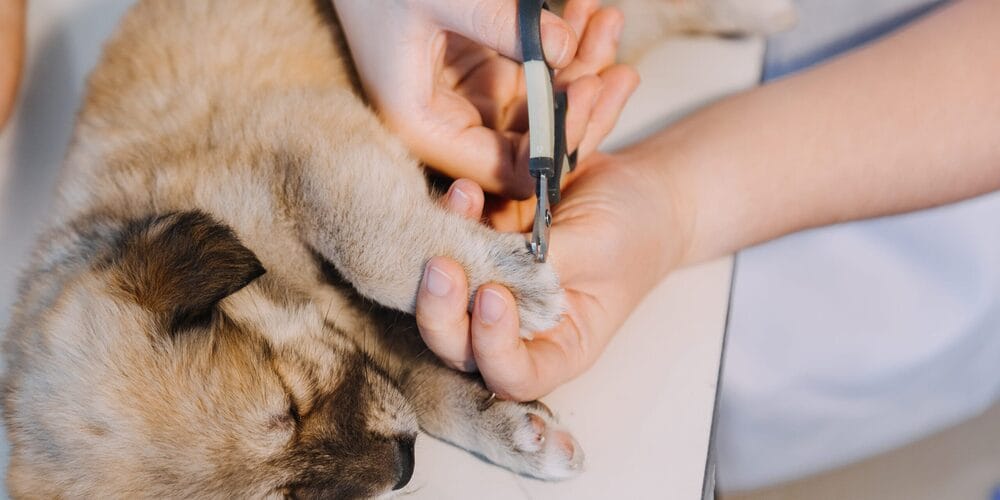
This piece of advice may come a little too late for those who have grown dogs who are already averse to nail trimming. But for the owners who have new pups, getting a head start on nail cutting can significantly increase the chances of your dog accepting it.
Grooming of varying degrees is necessary for every dog. Introduce dog nail trimming and paw handling into your puppy’s regular routine early on. Show him the clippers, let him interact with it, and reward him after every clip.
You don’t necessarily have to do a complete trim in the beginning. Even getting to clip one nail can be considered a win. Just make sure to reward your pup handsomely so he associates nail cutting with good things.
With this early, positive practice, your dog is far more likely to grow up relaxed about nail trimming.
2Desensitizing Your Dog to Nail Trimming
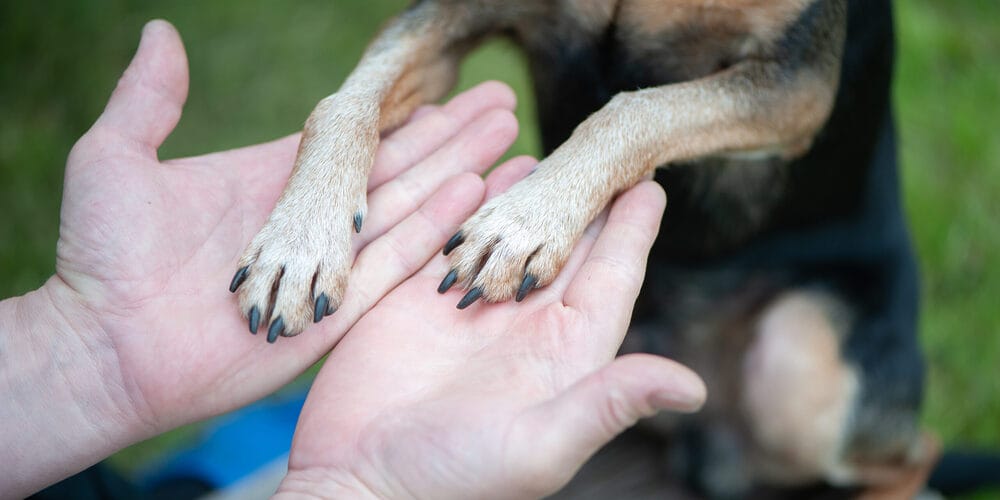
If your dog is already showing resistance, then you may have to bring it back to the basics. Start from the beginning when you introduce the nail clippers. Let your dog accept it at his own pace. Let him sniff it, touch the clippers gently to your dog’s paws and nails, and reward his calm behavior.
The key is to create positive experiences during this process so nail trimming will be a happy and maybe even fun event for your dog. Keep the desensitizing sessions short and sweet, increase the level of handling gradually, and eventually start to trim the nails. The key to desensitization isn’t the length of each session, but the frequency.
3Using Positive Reinforcement
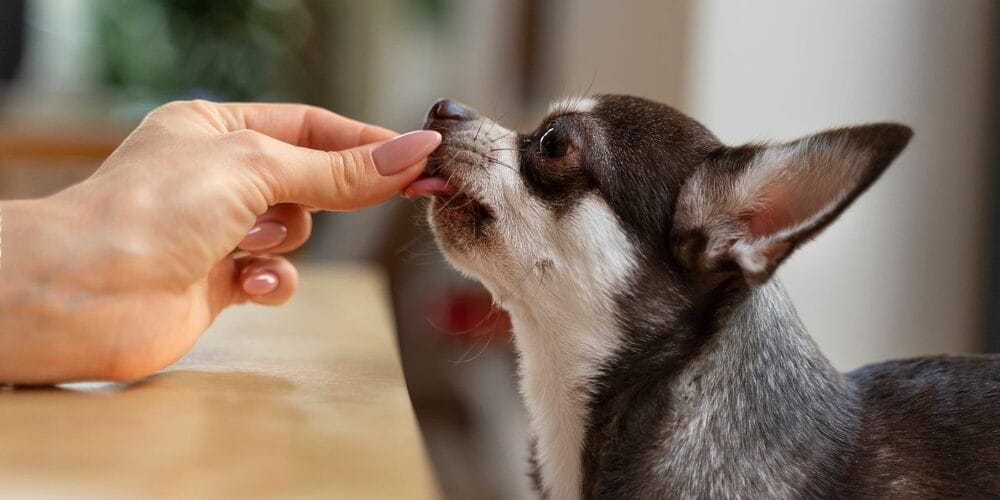
We’ve mentioned this a lot, but we really cannot state this enough – positive reinforcement is so important. Not only is it vital to reward your dog for good behavior, but positive reinforcement is also an excellent form of communication.
It’s a great way to show your dog exactly what you want and what he should be doing to get what he wants. For nail trimming, use a very high-value treat (or a lick mat smeared with xylitol-free peanut butter) that he only gets during nail sessions. Never punish or scold him for pulling away, as this only increases his fear.
4Alternative Nail Trimming Methods
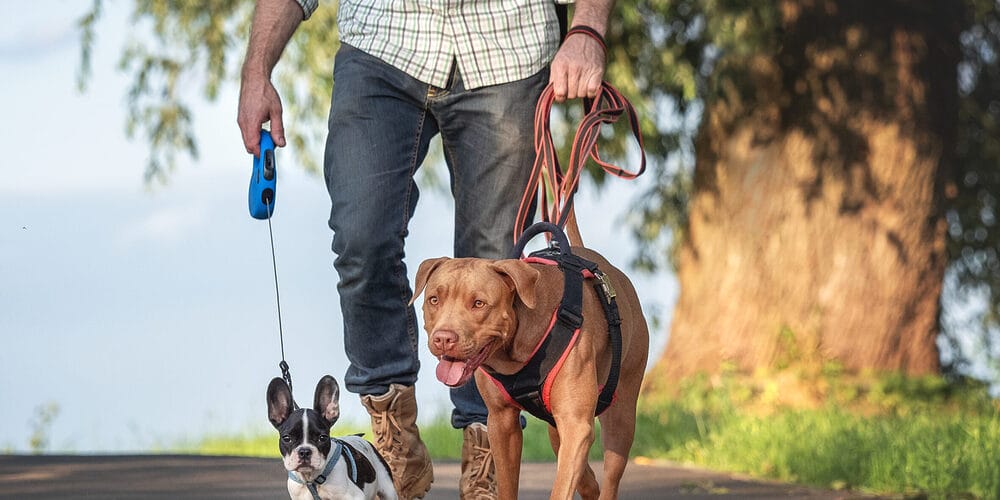
Instead of cutting, nail scratchboards and grinders as we mentioned above are also great considerations to get the job done. Sometimes even taking your dog on daily walks can do the trick. As your dog trots on the pavement, the concrete and asphalt work like dog nail scratchboards and help file down the nails, although usually not evenly, and never the dewclaws, which don’t touch the ground. We go into this in how to file your dog's nails instead of clipping.
When to Seek Professional Help
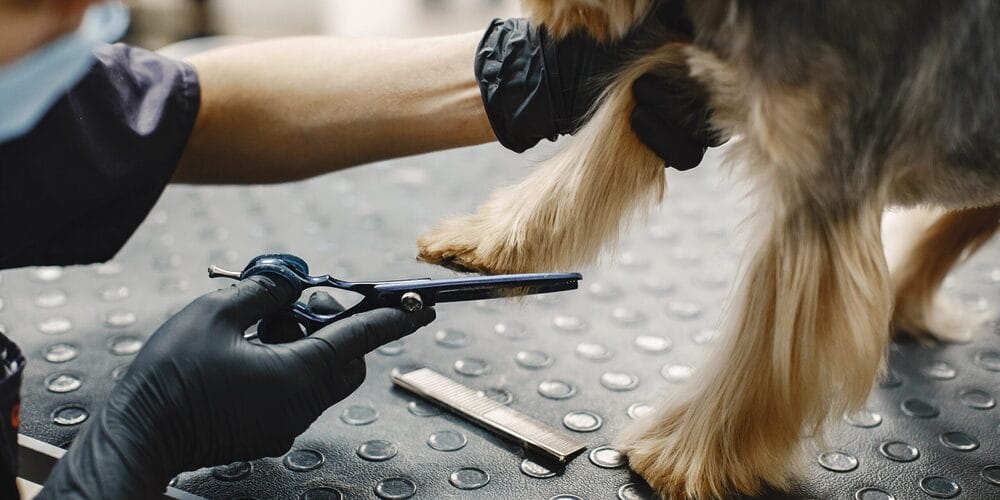
Sometimes despite your best efforts and intentions, your dog is just extremely averse to nail trimming. If this is the case, it’s best not to put your dog through such stress, especially since dog nail trimming is for maintenance and should be done frequently. Overgrown nails come with their own issues, which we cover in can dogs get ingrown toenails.
Professional groomers may have different methods to help trim your dog’s nails, but if you want to be extra cautious, you can seek the help of a vet. For very fearful dogs, your vet can also discuss anti-anxiety medication before nail trims or, in severe cases, sedation.
How to Trim the Nails Step by Step
Once your dog accepts the tool, keep each session short and calm:
- Pick a quiet moment, ideally after a walk, and have treats and styptic powder (or cornstarch) within reach.
- Hold the paw gently but firmly and press lightly on the toe pad to extend the nail.
- Find the quick, the pink area with blood vessels and nerves inside the nail. On dark nails you can’t see it, so take off only thin slivers and stop when you see a gray or pink oval on the cut surface.
- Clip or grind just the tip, below the quick and at a slight angle following the curve of the nail. Don’t forget the dewclaws.
- Reward after every nail, and stop after one or two nails if your dog starts showing signs of stress. You can finish the rest tomorrow.
If you do nick the quick, stay calm, press styptic powder onto the nail for a minute or so, and end the session on a positive note. Call your vet if the bleeding doesn’t stop after 5-10 minutes of pressure.
Recognizing Signs of Stress in Your Dog During Nail Trimming
It’s important to know when to stop and when your dog has had enough. Recognizing the signs that your dog needs a break or is very anxious and stressed out is crucial during the training process.
When to take a break trimming your dog's nails
- Body Language - Look for raised hackles, a tucked tail, a tense posture, and even shaking or trembling. Panting and drooling are also signs of a stressed-out dog.
- Vocalizations - Your dog may also whimper, cry, howl, or yelp, to voice his discontent and fear during or before nail trimming.
- Avoidance, Hiding, Running Away - This is a common one. Right when you break out the nail-trimming tools, you’ll notice your dog has skedaddled and disappeared.
- Yawning and Lip Licking - Yawning is not only a sign of exhaustion, but it’s also how your dog relieves stress. Lip licking and smacking are commonly associated with hunger, but it could also be (you guessed it) a sign of stress in your dog.
- Paw Pulling - Does your dog yank his paws away when you try to grasp it? Yep, it’s another way to communicate to you that he wants nothing to do with nail trimming.
- Excessive Scratching - Scratching is another thing dogs do to mitigate stress. Give your dog a break if he’s sitting and scratching excessively.
- Wide Eyes and Dilated Pupils - This one is easier for us to understand because wide eyes and dilated pupils are something humans exhibit in the face of fear as well.
- Aggression - The worst-case scenario is if your dog gets aggressive when you try to cut his nails. In this case, it’s important to seek professional assistance.
Conclusion
Ensuring that your dog’s nail trimming experience is as stress-free as possible will benefit you too. Not only is it vital for your dog’s overall well-being, but it strengthens your bond as well. The first step is to select the right tool for your dog, and then introduce it to him gradually.
Recognizing the signs of stress and knowing when to take a step back will make the process easier to accept and more comfortable for your pooch. You can employ desensitization methods and consider alternative trimming tools to get the job done. Don’t be afraid to ask a professional when you’re in doubt.
Get The Ideal Dog Routine, free
A 10-page guide written by a vet: a sample daily routine, exercise and alone time, and grooming and vet check schedules.
We'll email you the download link. Unsubscribe anytime.